Export Data to Excel
This documentation shows how to export data from a data grid into Excel.
1. Access Data Grid
Navigate to the Data Grid in TES where your data is displayed.
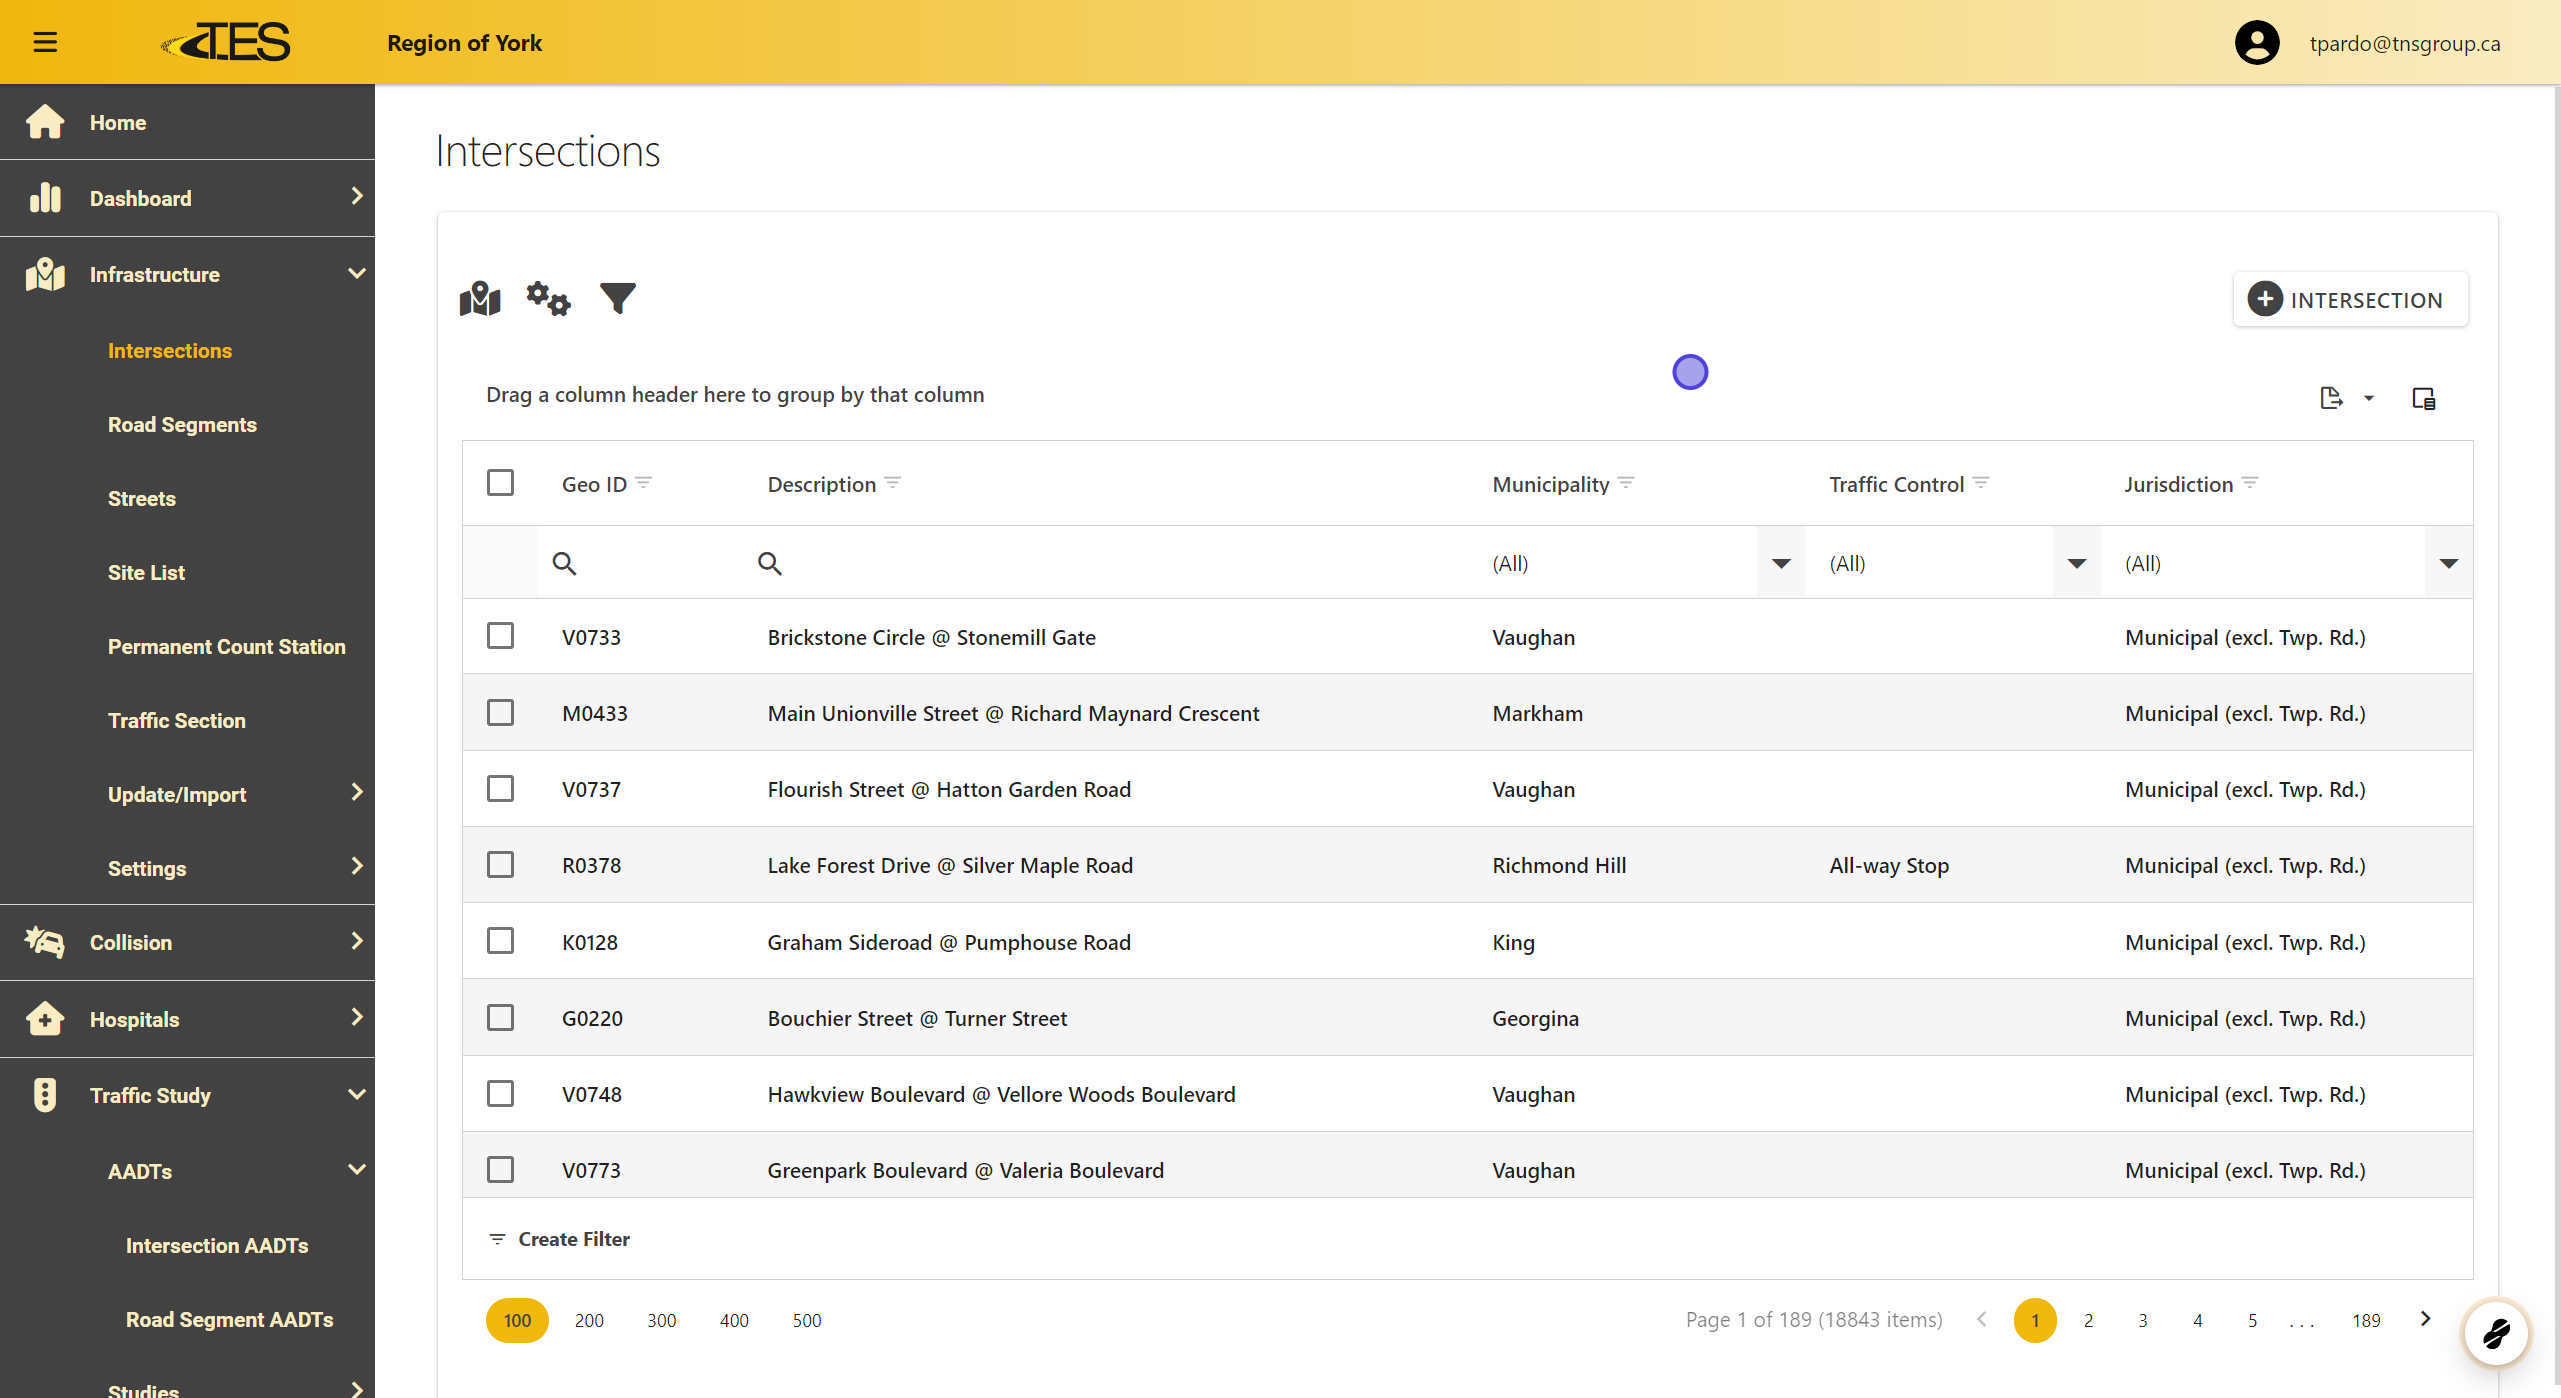
2. Create or Select Your Filter (Optional)
-
If you want to export only specific rows:
-
Apply a filter by selecting the dropdown menus (e.g., Municipality , Traffic Control , or Jurisdiction ).
-
Filtering will ensure only the relevant data is exported.
-
-
Note : Skip this step if you want to export all rows without filtering.

3. Select Rows to Export (Optional)
-
To export specific rows:
- Check the boxes next to the rows you want to include in your export.
-
Note : Skip this step if you want to export all rows.

4. Click on the Export Button
-
Locate the Export icon in the top-right corner of the grid.
-
Click on it to open the export options.

5. Choose Export Options
-
Select one of the following options:
-
Export all data to Excel – Exports everything in the grid, including unselected rows.
-
Export selected rows to Excel – Exports only the rows you selected in Step 3.
-

6. Download File
-
After exporting, a download will start automatically.
-
Locate the file in your browser’s Downloads tab and click on it to open.
