Edit Data
This documentation shows how to change the data for a single intersection.
1. Access Intersections
-
Navigate to the Intersections module from the main menu.
-
The list of intersections will appear in a table format.
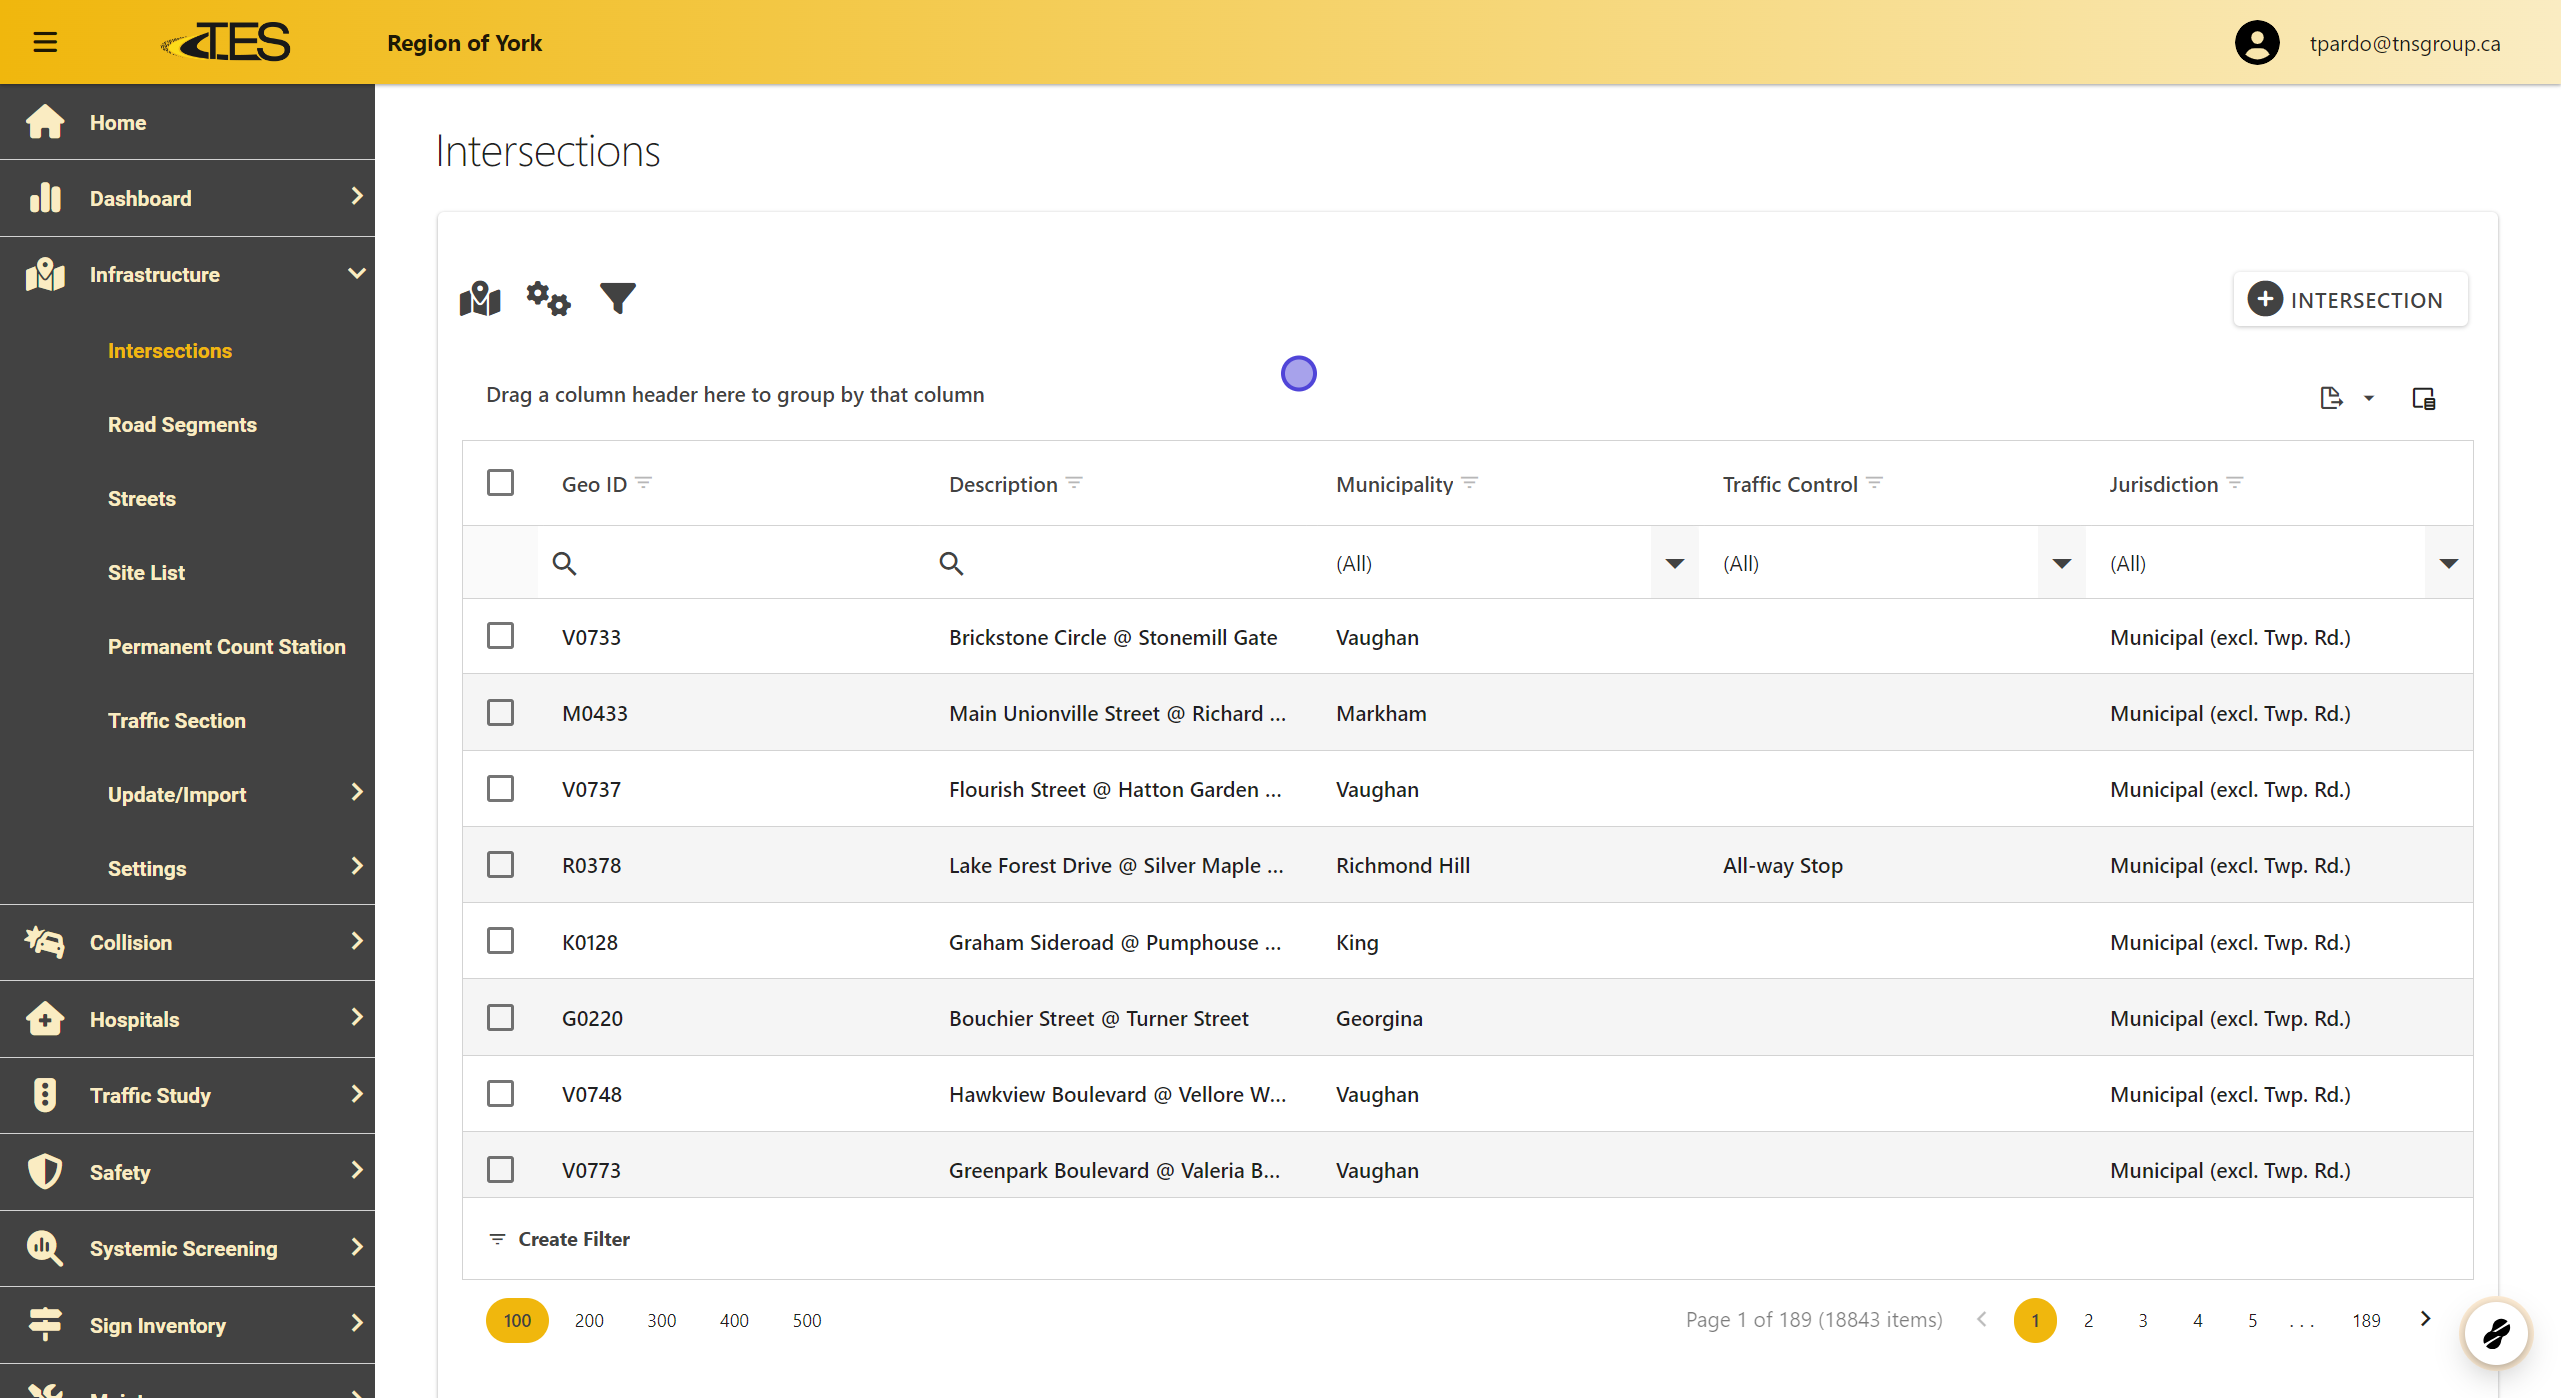
2. Select Intersections You Want to Edit
-
Locate the intersection you wish to edit using the Geo ID or Description .
-
Click on the intersection row to highlight it.

3. Enable Editing
Click the Lock button located at the top right of the page to enable editing.

4. Modify Intersection Details
-
Once editing is enabled, you can update the information under the following tabs:
-
General : Update the description, municipality, or jurisdiction.
-
Details : Provide additional information such as road conditions or traffic details.
-
Approach Details : Update approach-specific attributes.
-
Operation : Modify operational characteristics.
-
-
To change the description, toggle the Overwrite Description button

5. Add a Collision (Optional)
-
Switch to the Collisions tab and click the Add button to add a new collision linked to the intersection.
-
Fill in the details, such as Accident Year , Classification of Accident , and Impact Type .

6. Edit a Collision (Optional)
The collision information when adding a collision is the same information for collisions in the collision module.

7. Add Support (Optional)
Go to the Supports tab and click the Add button to add support information, such as Height , Face Material , and Dimensions .

8. Edit Support (Optional)
The support information when adding a support is the same information for supports in the sign inventory module.

9. Save Changes
-
Click the Save button to confirm your changes.
-
Alternatively, click the Lock button to exit editing mode without erasing changes.

10. Handle Unsaved Changes
f you attempt to exit the page with unsaved changes, a warning will appear:
-
Yes : Save changes and exit.
-
No : Exit without saving.
-
Cancel : Remain on the page
