Create Collision Diagrams
This documentation shows how to create a collision diagram for a specific intersection.
1. Access Intersections
Navigate to Intersections from the main menu.
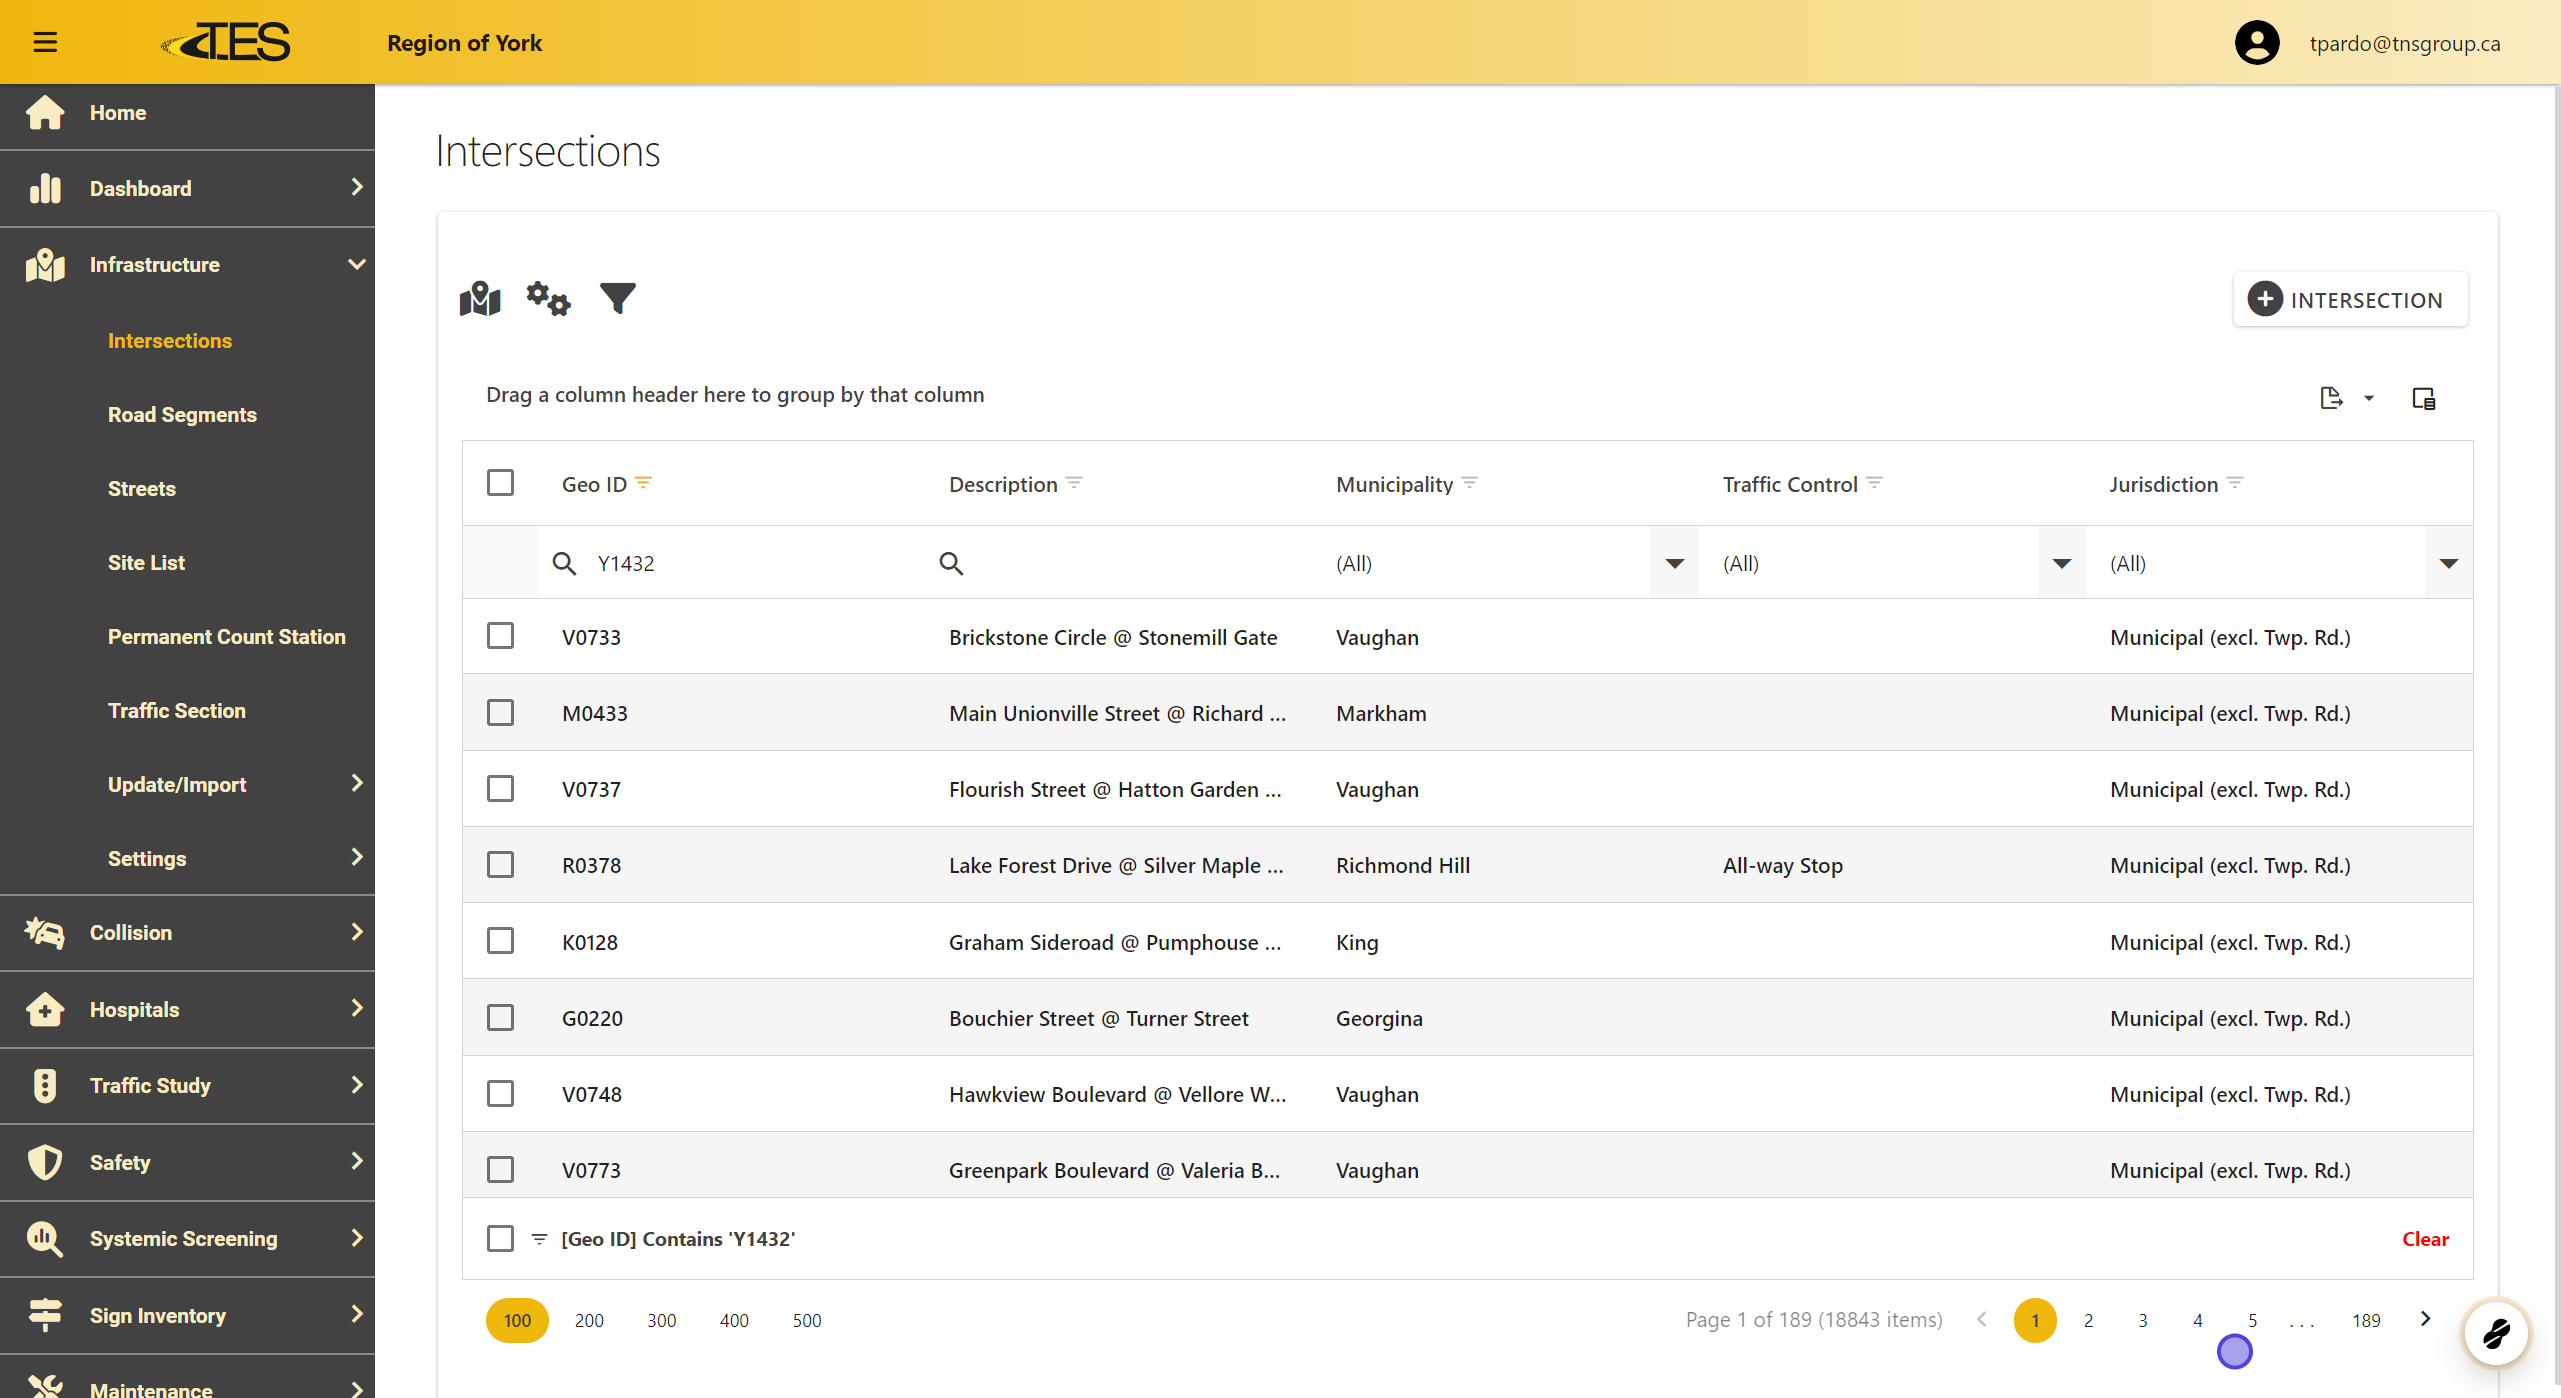
2. Select a Location
-
Use the Geo ID or Description to find a specific location.
-
Click on the desired row to select it.

3. Open Collisions Tab
In the intersection's details, click the Collisions tab to view collision data.

4. Choose Collisions to Display on the Diagram
From the list of collisions, check the boxes for the collisions you want included in the diagram.

5. Click Collision Diagram Button
Click the Collision Diagram button, located above the collision list.

6. Set Diagram's Date Range
Specify the Start Date and End Date for the diagram.
- These dates are for display purposes and do not affect the data shown.

7. Select Collision Diagram Type
Choose a diagram type that matches the intersection from the dropdown menu.

8. Generate Diagram
Click CREATE to generate the collision diagram.

9. View Diagram in Full Screen
Click the Full Screen button in the bottom-left corner to expand the diagram.

10. Understand Collision Diagram
-
The diagram uses symbols to indicate the type and location of collisions at the intersection.
-
A legend at the bottom explains the symbols:
-
First Number : Property damage-only collisions.
-
Second Number : Non-fatal injury collisions.
-
Third Number : Fatal collisions.
-

11. Export Diagram
Click the Export button to save the diagram in SVG , PNG , or JPEG format.
